Skip to content
StudyFetch Academy

Product Tutorials

Create and Record a Live Lecture

Creating a Live Lecture Session

Step 1: Create a New Live Lecture

  1. From the Live Lecture List page, select + Create Live Lecture from the top right. A new session opens automatically, ready to record.
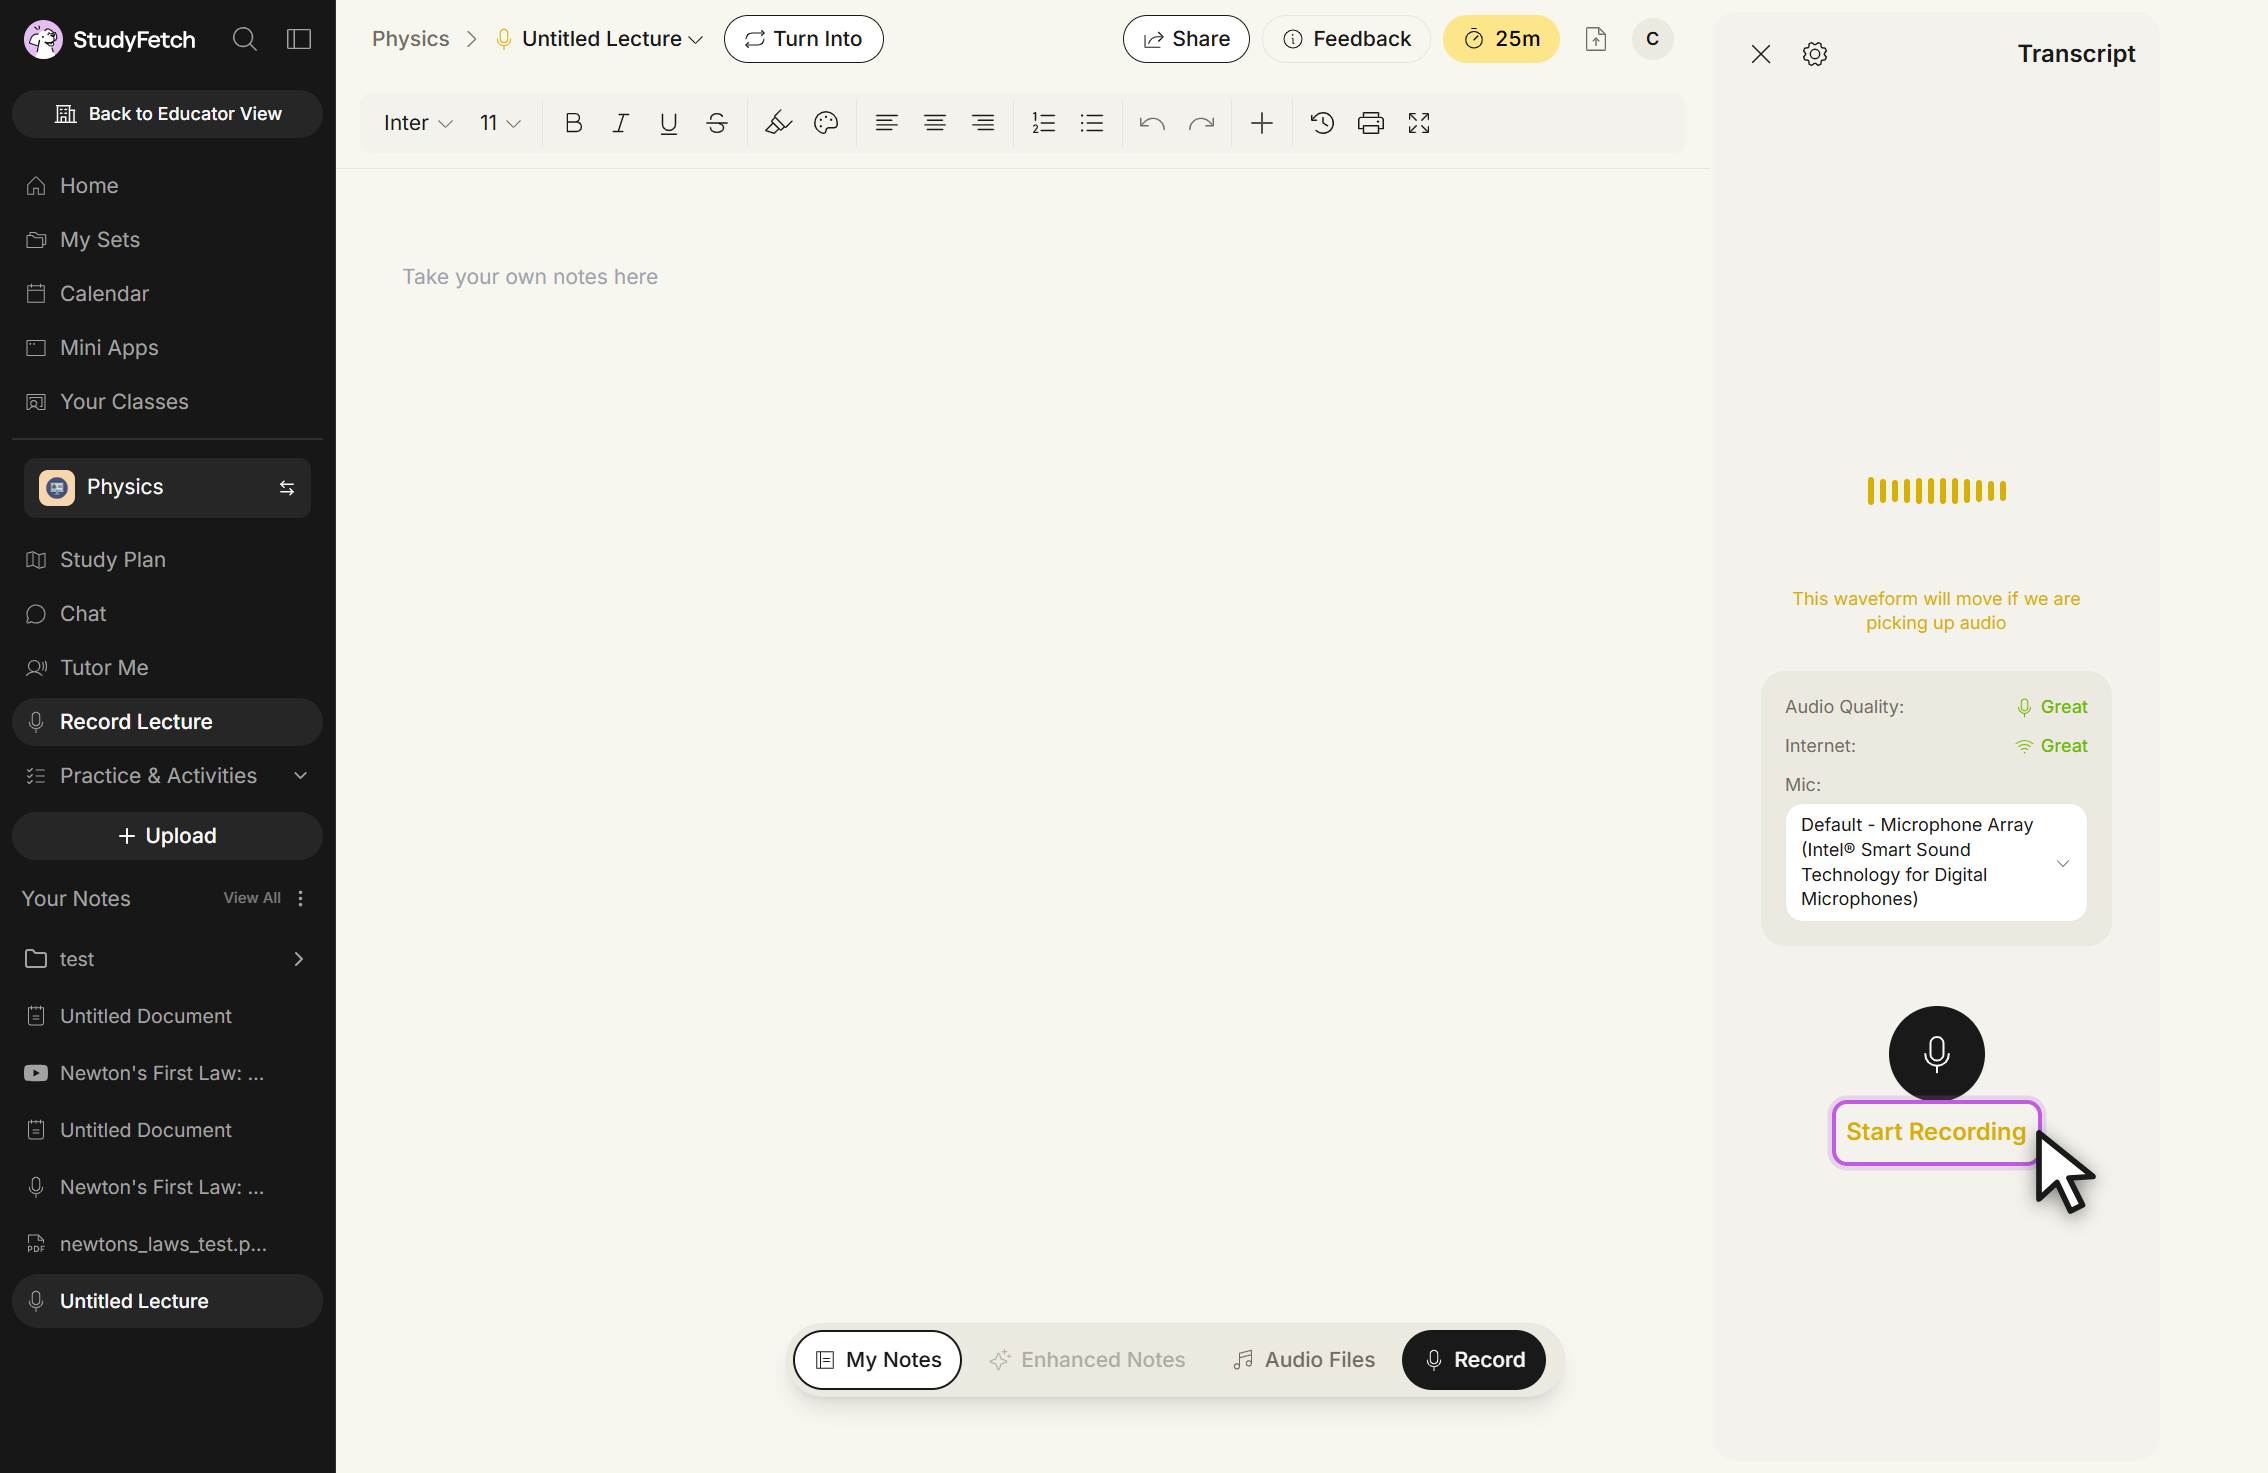
A new Live Lecture session, named Untitled Lecture by default and idle before recording. An empty notes editor on the left prompts Take your own notes here. The Transcript panel on the right shows an audio waveform, Audio Quality and Internet indicators, a Mic selector, and a Start Recording button outlined with the cursor over it.
Live Lecture session, new and not yet recording. The Transcript panel shows the Audio Quality and Internet indicators, the Mic selector, and Start Recording below them.

Step 2: Start Recording

  1. Click Start Recording. Before recording begins, confirm that all participants have consented to being recorded, then click Yes on the Recording Consent prompt.
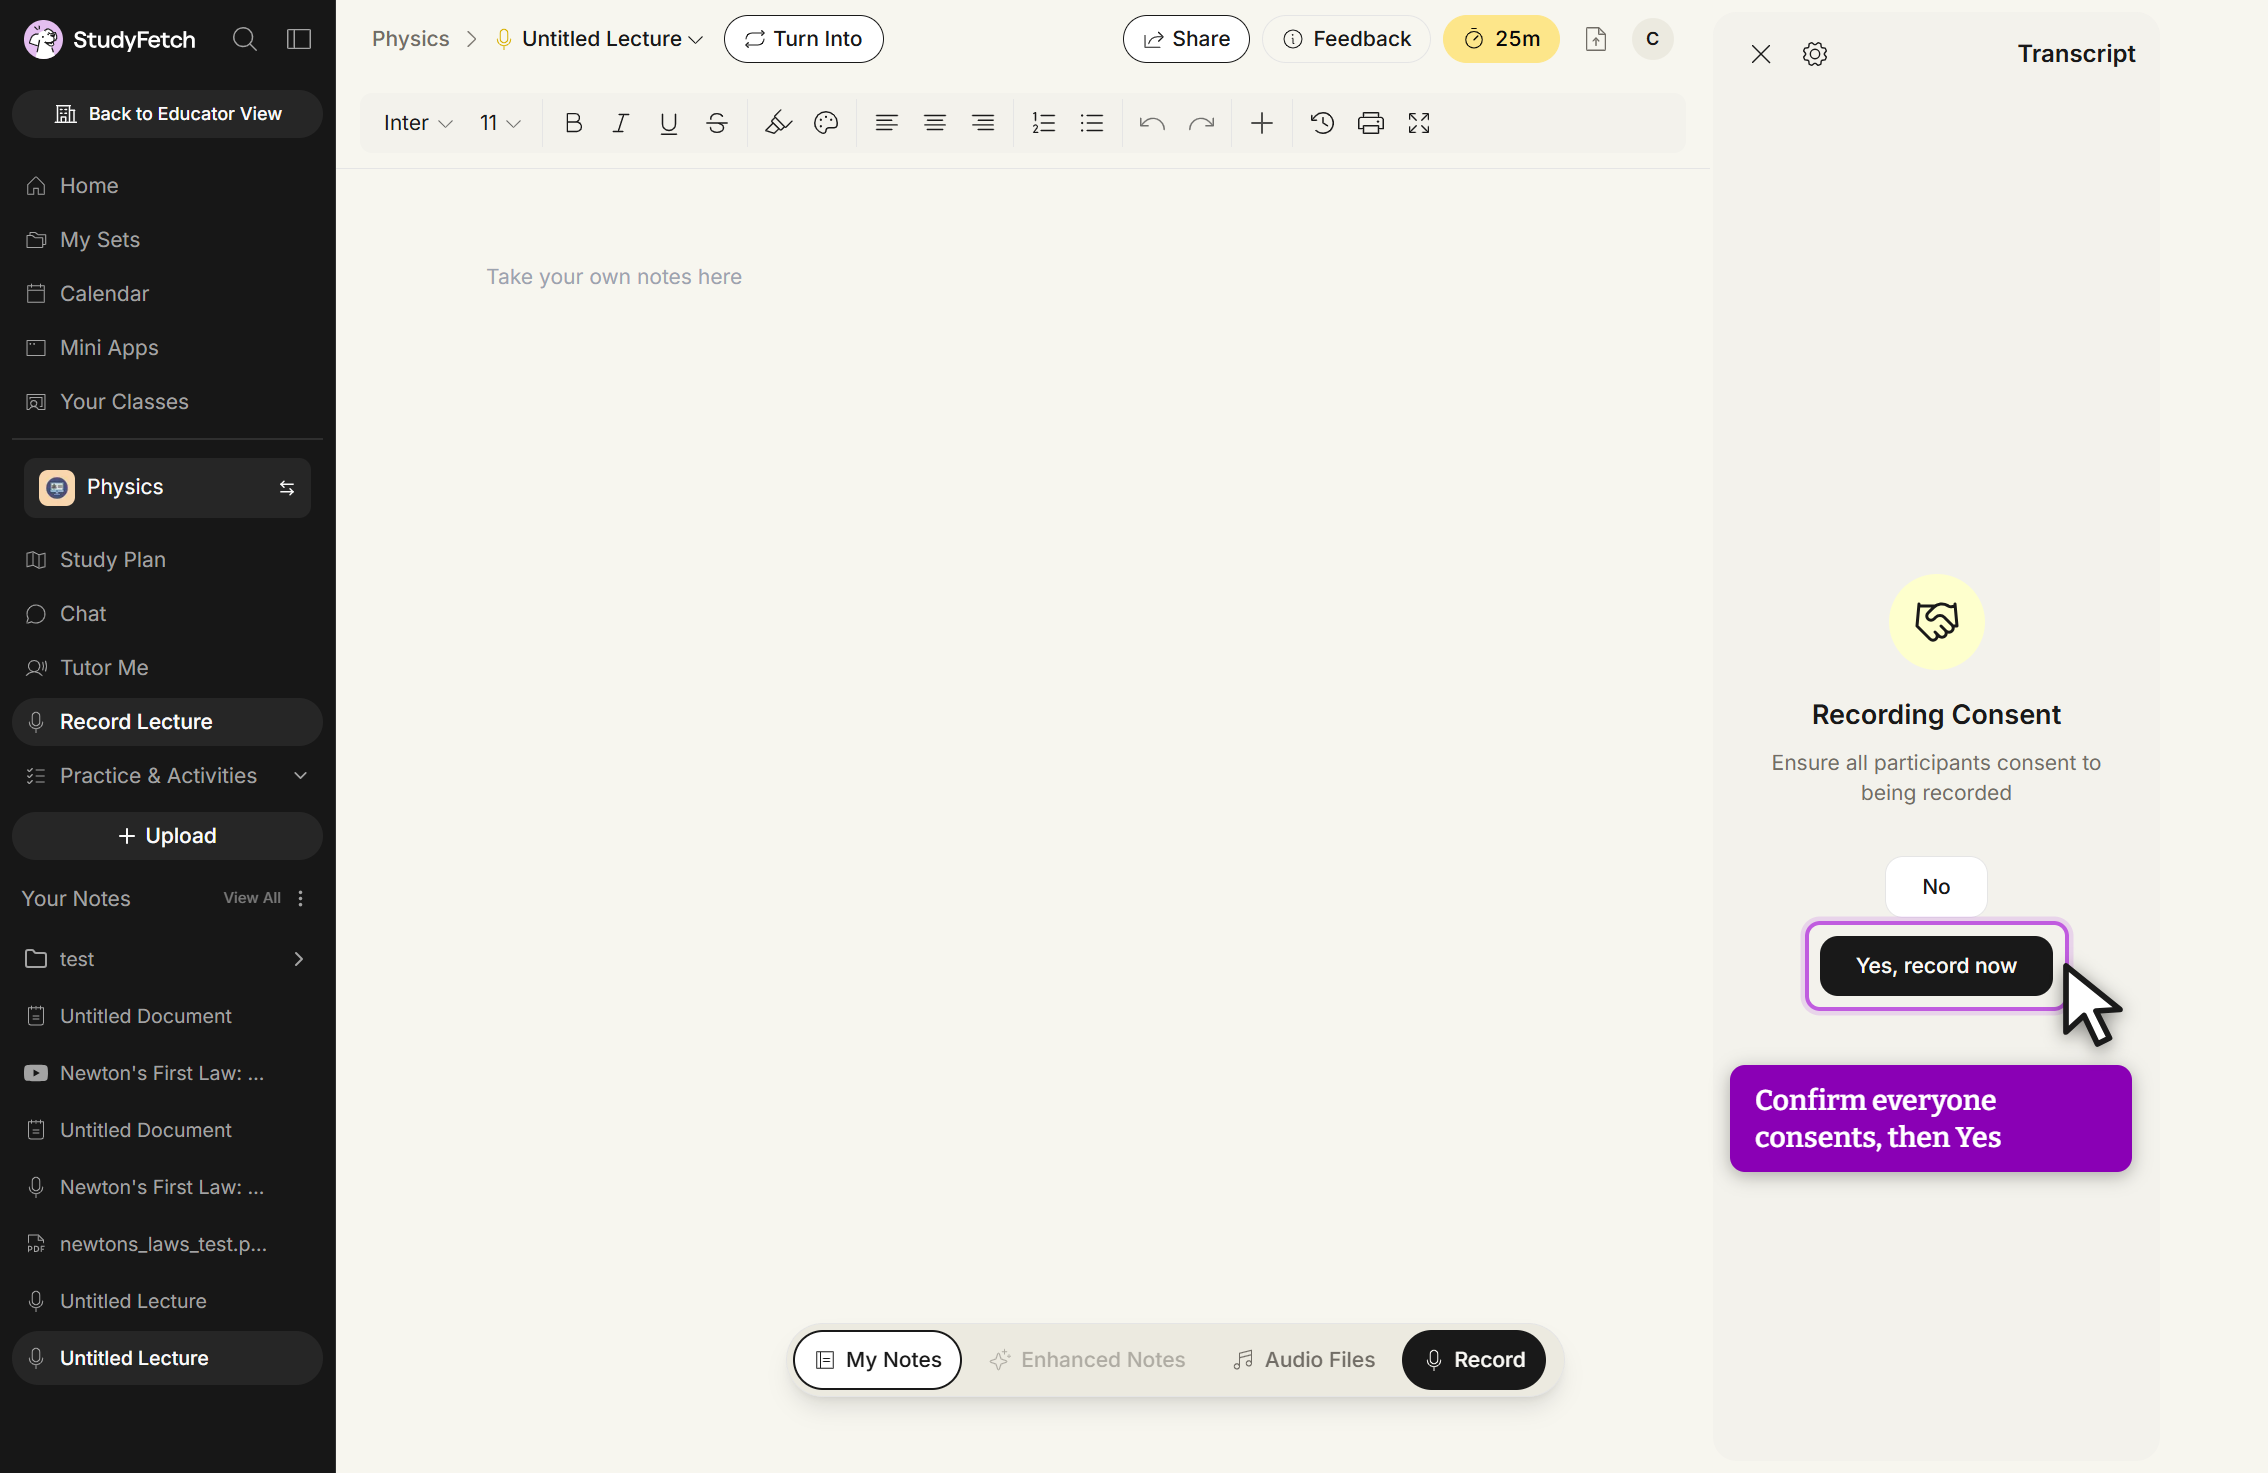
The Recording Consent prompt in the Transcript panel of a Live Lecture session. It reads Ensure all participants consent to being recorded and offers a No button and a Yes, record now button, which is outlined with the cursor over it.
Recording Consent prompt. Click Yes, record now once everyone has consented.
  1. Once you confirm, Sparky immediately begins listening to your lecture and taking notes on the information discussed, while recording the audio and generating a transcript of the session.
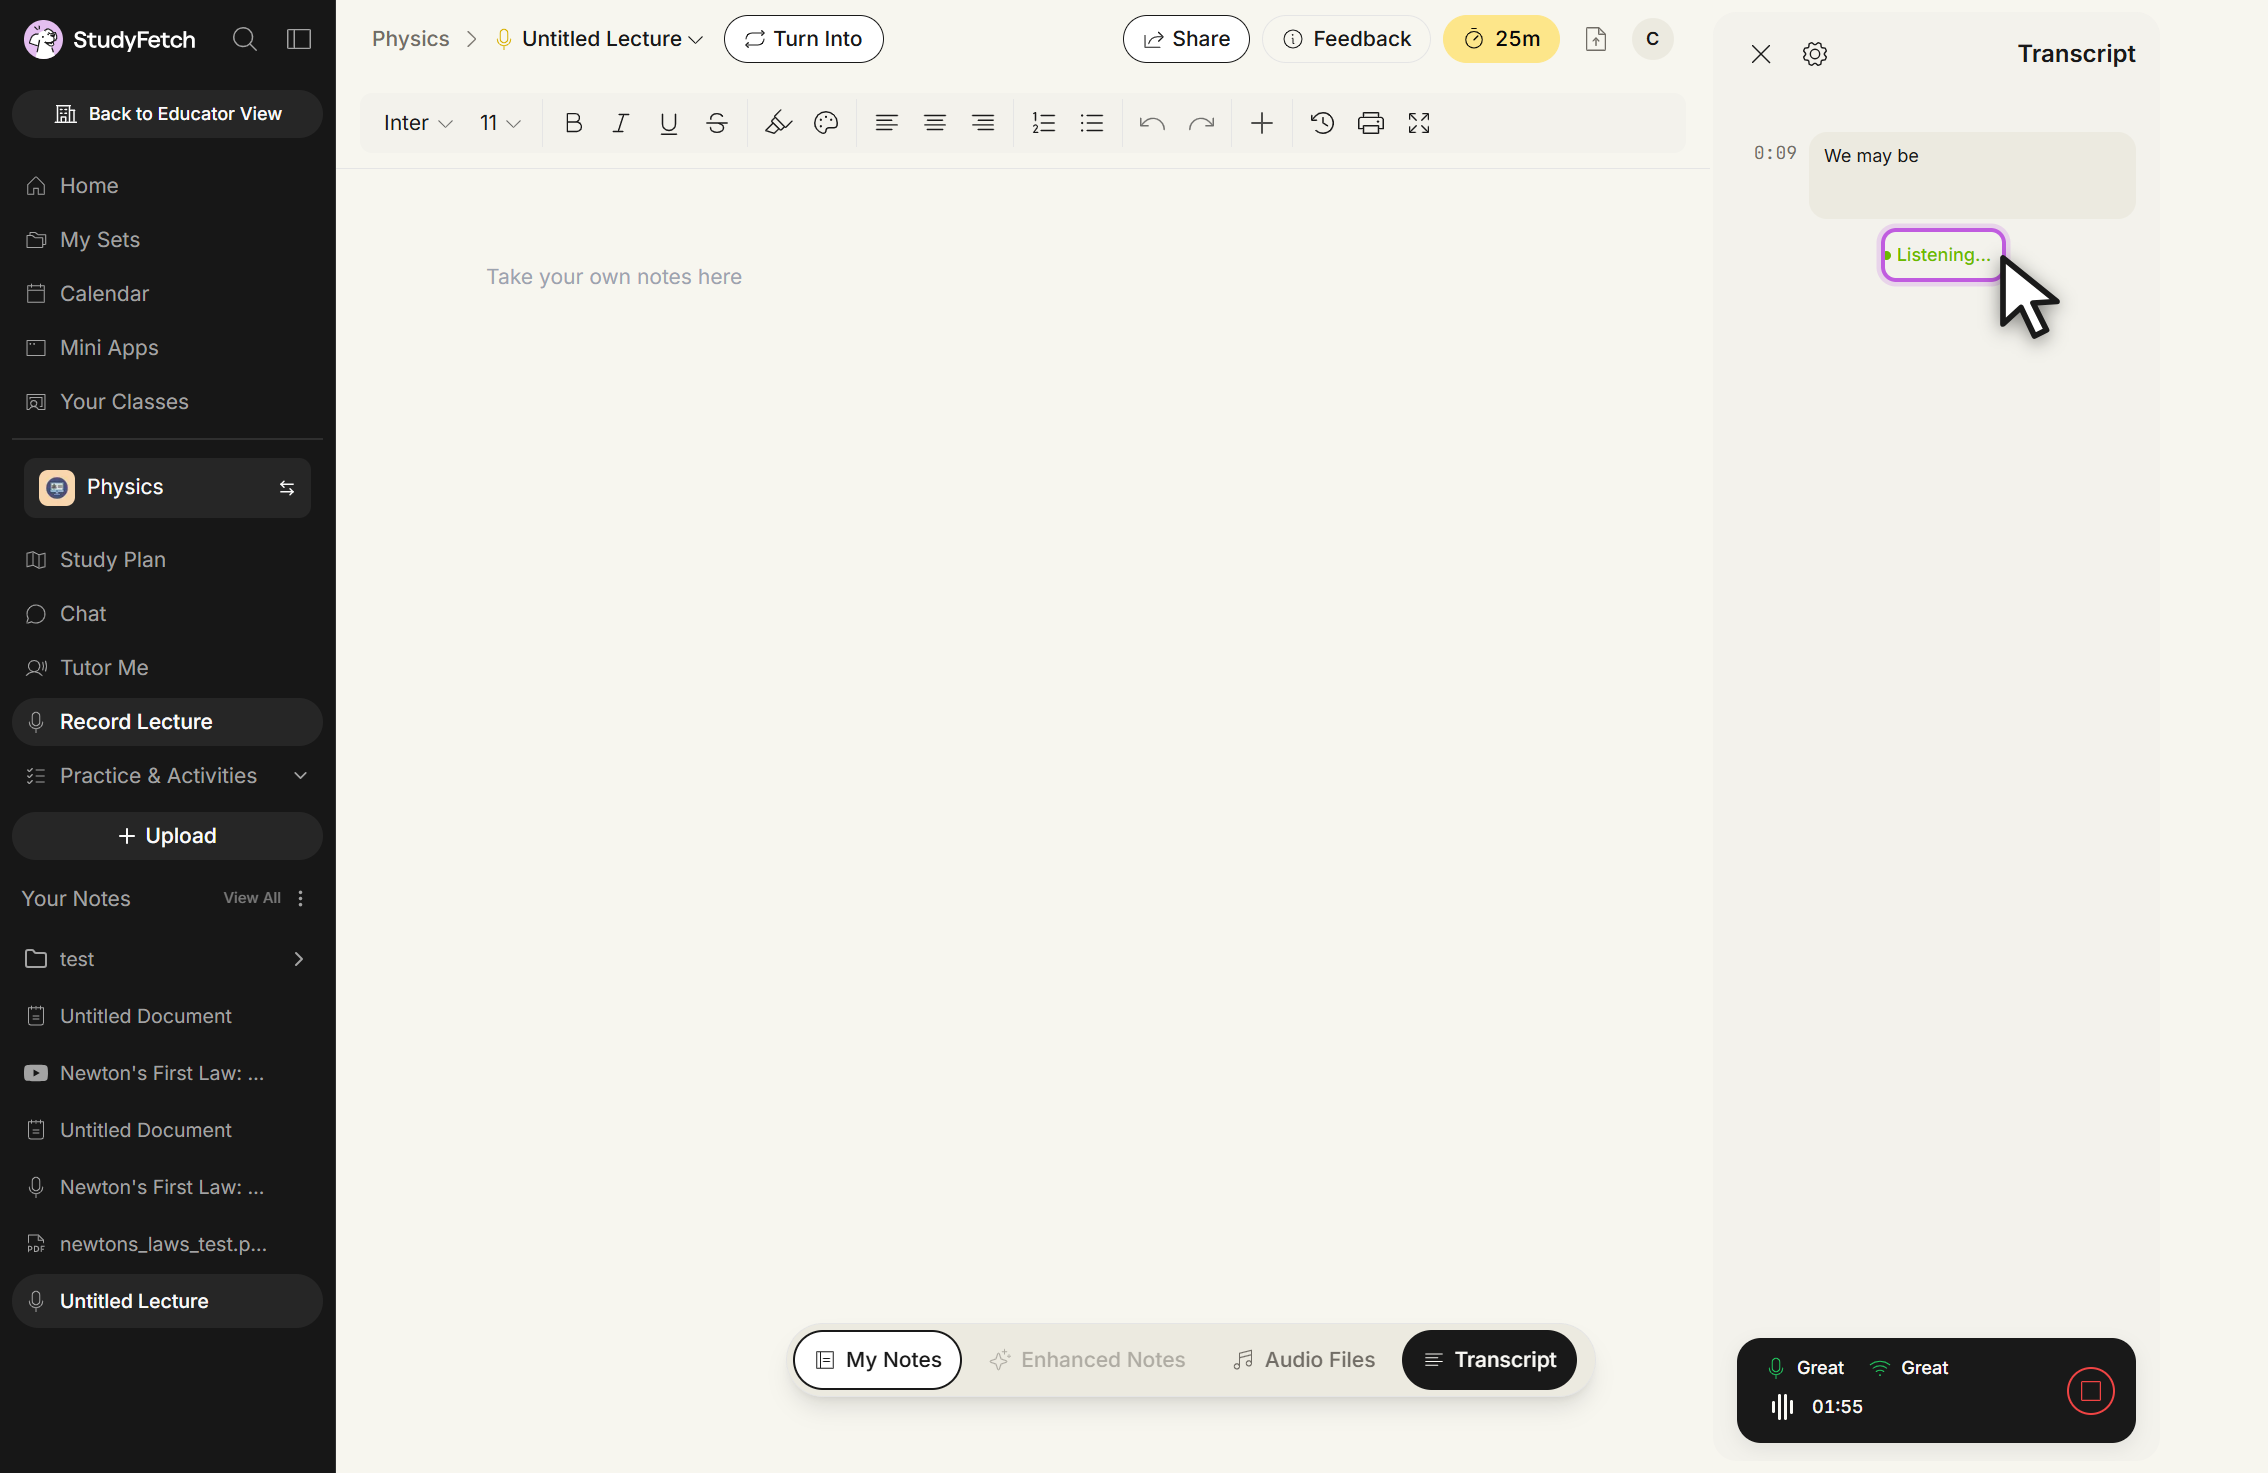
A Live Lecture session while recording. The Transcript panel shows timestamped transcript lines as they are captured, with a green Listening... indicator outlined below them. A status bar at the lower right shows the microphone and internet quality indicators, the elapsed recording time, and a stop button.
Live Lecture session, recording in progress. The Transcript panel shows a Listening... indicator and the status bar shows the elapsed time.